When you look at the vibrant orange hue of a ripe pumpkin sitting on your porch or in your garden, you are seeing more than just a seasonal decoration. You are looking at a living vessel of potential. For many of us, the ritual of autumn involves carving jack-o’-lanterns or baking pies, but there is a hidden treasure inside those thick walls that often gets tossed into the trash or the compost pile. Those seeds you see are the bridge between your current success and next year’s garden.
This guide will walk you through every nuance of the process, from understanding the genetics of your favorite pumpkin to the final moment you tuck those seeds into the soil next spring. We will talk about why some pumpkins work better than others, the science of how they dry, and how you can ensure they survive the winter.
Know the Genetics of Your Pumpkin
Before you ever reach for your carving knife, you need to understand what kind of pumpkin you are dealing with. This is the foundation of high-quality seed saving. If you start with the wrong genetics, all your hard work in cleaning and drying will lead to a disappointing harvest next year. Most pumpkins you find at the grocery store or a pumpkin patch fall into two main categories: heirlooms and hybrids. If you want your garden to produce the exact same type of pumpkin you enjoyed this year, you must know the difference between these two.
Heirloom pumpkins are the gold standard for seed savers. These are varieties that have been passed down through generations, often for fifty years or more. Because they are open-pollinated, they have stable genetics. If you grow an heirloom like the New England Pie or the Connecticut Field pumpkin and keep it away from other types of squash, the seeds you save will grow into plants that look just like their parents. These varieties are often celebrated for their superior flavor, unique shapes, and deep history. When you save heirloom seeds, you are participating in the preservation of biodiversity.
Hybrid pumpkins, often labeled as F1 hybrids, are a different story. These are the result of a deliberate cross between two different parent plants to achieve a specific result, like a perfectly uniform shape or a very thick handle. While the pumpkin you buy is beautiful, its seeds are genetically unpredictable. If you plant seeds from a hybrid, you might get something great, but more often than not, you will get a “crap shoot” of results—a pumpkin that looks nothing like the one you started with. Sometimes these seeds are even sterile and won’t grow at all. If you are looking for a fun experiment and don’t mind a “wonky” surprise, hybrids are fine, but for a reliable harvest, stick to heirlooms.
| Pumpkin Category | Genetic Stability | Seed Saving Outlook | Common Examples |
|---|---|---|---|
| Heirloom | Very High | Excellent; produces “true to type” offspring. | New England Pie, Sugar Pie, Connecticut Field. |
| Open-Pollinated | High | Reliable; requires isolation from other varieties. | Most non-hybrid garden varieties. |
| F1 Hybrid | Very Low | Poor; offspring will be inconsistent or sterile. | Many commercial “perfect” carving pumpkins. |
| Wild/Gourd | High | Variable; often used for decorative or rootstock purposes. | Small decorative gourds, wild cucurbits. |
Another critical factor you must consider is the promiscuous nature of the pumpkin plant. Pumpkins belong to the Cucurbit family, which includes squash, cucumbers, and melons. Because they produce separate male and female flowers, they rely on bees to move pollen between them. Bees are busy travelers, often flying half a mile or more to find nectar. If your neighbor is growing zucchini and you are growing pumpkins, the bees may cross-pollinate them. This won’t change the pumpkin you eat this year, but the seeds inside will become a hybrid of the two. This is why professional growers recommend a separation of at least half a mile between varieties if you want to ensure your seeds stay pure. If you have a small yard, don’t worry—you can still save seeds, but you might want to try hand-pollinating your flowers and taping them shut to keep the bees out.
Choose the Best Pumpkin for Your Seeds
Your seed-saving journey truly begins with the selection of the fruit. You shouldn’t just grab the first pumpkin you see; you want to pick the “mother” plant carefully. Think of this as choosing the DNA for your future garden. If you pick a weak, diseased, or immature pumpkin, you are setting yourself up for failure before you even start. You want to look for a pumpkin that represents the best traits of its variety.
First, ensure the pumpkin is fully mature. A seed is not ready to be born until the fruit is completely ripe. If you harvest too early, the seeds will be flat and lack the energy reserves needed to sprout in the spring. You can tell a pumpkin is ready when its skin is hard enough that you cannot pierce it with your fingernail. The color should be deep and solid, and the stem should be starting to shrivel and turn brown. Some experts even suggest waiting until the vines have died back completely before harvesting for seeds.
Health is just as important as maturity. You should only save seeds from a pumpkin that grew on a vigorous, healthy plant. If a plant struggled with fungus, wilting, or heavy insect damage, its seeds might carry those weaknesses or even pathogens. By choosing the largest, roundest, and healthiest pumpkin in your patch, you are selecting for disease resistance and strength. If you are buying a pumpkin from a store or a farmer’s market, ask the grower if they used heirloom seeds and if the plants were healthy throughout the season. This extra bit of research will go a long way in ensuring your future garden thrives.
Tools You Will Need to Save Pumpkin Seeds for Planting
Before you make your first cut, you need to gather your supplies. Having the right tools on hand will make the process cleaner and more efficient. You don’t need expensive equipment, but you do need items that can handle the sticky, fibrous nature of pumpkin guts. From my experience, being prepared also means you won’t be scrambling with slimy hands trying to find a towel.
- A Sharp Serrated Knife: A serrated vegetable knife is ideal for sawing through the tough rind of a pumpkin without slipping.
- A Large Metal Spoon: You need something sturdy to scrape the seeds off the inner walls. A metal spoon or an ice cream scoop works much better than plastic, which can bend or snap.
- A Large Bowl: This will be your holding station for the seeds and pulp as you scoop them out.
- A Colander or Fine-Mesh Strainer: This is essential for the rinsing phase to separate the seeds from the slime.
- Non-Stick Drying Surfaces: Think wax paper, parchment paper, or even a window screen. Avoid regular paper towels for the initial drying, as the seeds will stick to them like glue.
- Envelopes and a Marker: For labeling your seeds with the variety and the date of harvest.
Setting up your workspace is also a smart move. I recommend laying down several layers of newspaper on your table before you begin. Pumpkin extraction is inherently messy, and having an easy way to bundle up the discarded pulp and rind will save you a lot of cleanup time later.

Stepping into the Heart of the Pumpkin
Now that you have your perfect pumpkin and your tools are ready, it is time to perform the harvest. You can do this whenever you are ready to use the pumpkin, whether you are carving it for Halloween in October or making a pie in November. The most important thing is to do it before the pumpkin starts to rot.
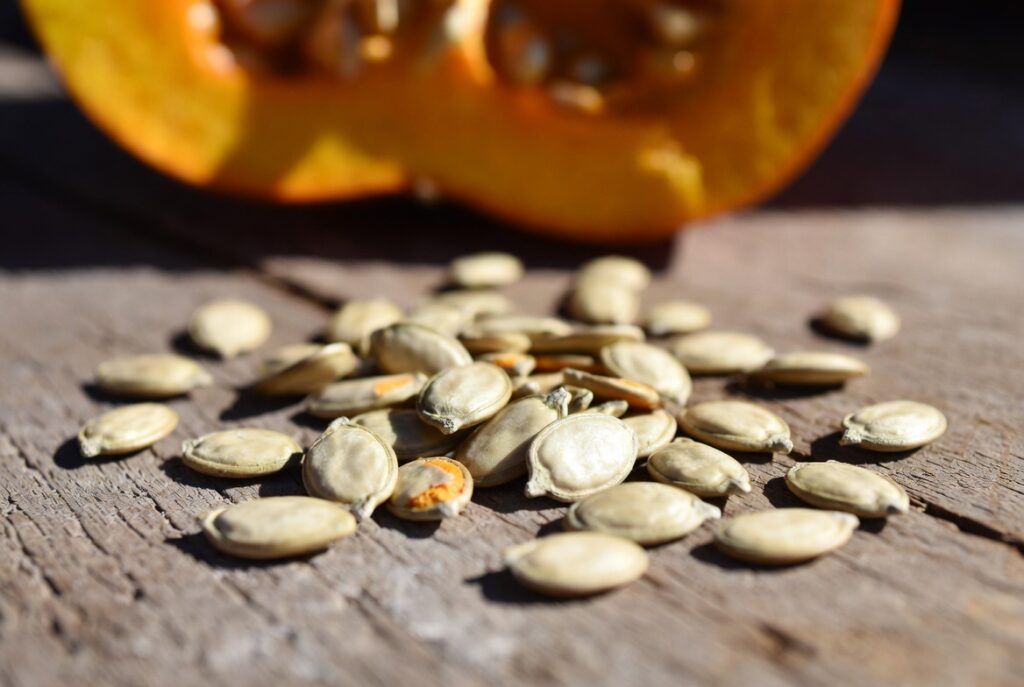
Start by cutting around the stem to create a lid, or slice the pumpkin in half if you aren’t worried about keeping the shell intact. Once you open the pumpkin, you will see the seeds nestled in a tangled web of stringy pulp. Using your large spoon or your hands, scoop out all the “guts” into your bowl. Don’t be afraid to get your hands dirty here; sometimes the best seeds are tucked away in the corners or stuck to the sides.
Once you have everything in the bowl, you need to separate the seeds from the pulp. This is often the most time-consuming part of the process. You can use your fingers to pull the seeds away from the fibers. You don’t have to be perfect at this stage—you just want to get the bulk of the fruit away from the seeds. As you work, keep an eye out for the best candidates. You are looking for seeds that feel plump and heavy between your fingers. Thin, flat seeds are often empty and won’t germinate, so you can discard those right away.
Getting Rid of the “Goop”
After you have a pile of seeds, you will notice they are covered in a slippery, mucilaginous coating. In the gardening world, we often call this “the goop.” This coating is actually a natural germination inhibitor; it prevents the seeds from sprouting inside the warm, moist environment of the pumpkin. If you leave this coating on, your seeds will be prone to mold and may have a harder time waking up in the spring.
The best way to clean your seeds is to put them in a colander and run them under cold tap water. Don’t just let the water run over them; use your hands to rub the seeds against the mesh of the colander. This friction helps scrub away the slime and any remaining bits of pulp. You should keep rinsing and rubbing until the water runs clear and the seeds no longer feel slippery.
A professional tip I have learned over the years is the “water float” trick during cleaning. If you have a few stubborn bits of pulp, place the seeds in a large bowl of water. The viable, heavy seeds will often sink to the bottom, while the lighter pulp and empty seeds will float to the top, allowing you to skim them off easily. However, remember that pumpkin seeds are naturally buoyant because of their shape and air pockets, so don’t throw away every floating seed until you have checked if it is plump.
Fermentation Process to Save Pumpkin Seeds
While a simple rinse is enough for most home gardeners, there is an advanced technique that can take your seed saving to the next level: fermentation. This might sound intimidating, but it is actually a way to mimic the natural process of a pumpkin rotting on the ground, which is how seeds would be released in nature. Fermentation serves two major purposes: it cleans the seeds more thoroughly than you ever could by hand, and it can actually kill certain seed-borne diseases.
To ferment your seeds, place the cleaned seeds and any remaining pulp in a glass jar and cover them with a small amount of water. Cover the jar loosely with a cloth or a lid that isn’t airtight, as the process will produce gases. Let the jar sit in a warm spot for about three to four days, stirring it once a day. You might notice a bit of mold or a sour smell—don’t panic! This is a sign that the natural bacteria are doing their job of breaking down the seed coating. After four days, fill the jar with more water. The good seeds will sink, and you can pour off the fermented “muck” from the top. Give the remaining seeds a final rinse, and they will be cleaner and healthier than if you had just used a colander.
Conclusion
When you take the time to clean, dry, and store these seeds, you are ensuring that the flavors and traditions of today will be available for tomorrow. Every year that you save your own seeds, your plants become a little more adapted to your specific soil and climate, making your garden stronger and more resilient over time. It is a slow, quiet process that rewards those who pay attention to the details. From that first scoop of pulp to the first sprout in the spring, you are part of a cycle that has sustained humans for thousands of years. So, this autumn, when you are standing over a hollowed-out pumpkin, don’t just see a mess. See the future of your garden, and take those few extra steps to save the seeds.
Frequently Asked Questions
Yes, you certainly can! However, you should keep in mind that many supermarket pumpkins are hybrids. This means the seeds might grow into something different than the parent. Also, if they weren’t grown in isolation, they might have cross-pollinated with other squash. It is always an adventure to see what grows, but if you want a specific variety, it is better to start with known heirloom seeds.
The most obvious sign of bad seeds is mold or a soft, mushy texture. Healthy seeds should be hard, off-white, and have a slight sheen. If you aren’t sure, the best way to tell is to perform the paper towel germination test. If they don’t sprout after two weeks in warm, moist conditions, they are likely dead.
No, you don’t need to worry about that thin, translucent film. It is a natural part of the seed coat called cellulose and it doesn’t hurt anything. As long as the sticky pulp and “slime” are gone, your seeds are ready for drying.
A good rule of thumb is to save about three times as many seeds as you think you will need. This accounts for seeds that might not sprout and gives you enough to share with friends or replant if your first attempt fails. For four plants, I would recommend saving at least 15 to 20 of your very best seeds.